Internet on a narrowboat
Do you want to install Internet on a boat (or a motor-home, camper van, etc.)? With WiFi to connect your phone, laptop or tablet to the Internet from inside?
Here's how I did it, on a small narrowboat. I didn't work all this out myself. Other people have posted snippets on narrowboat, sailing boat, motorhome and caravan forums, and that's where I learned some of the things reported in this blog.
You don't need to be a computer wizard to install a setup like this, but some basic knowledge of computers is needed and some DIY skills.
What not to do!
Don't rely on your phone's mobile data. Reception is bad inside a metal box, which is what a narrowboat is, and if you're in a location where the cellular/mobile signal is weak anyway, it will be even weaker inside the boat. The time when you'll need to go outside to get a better phone signal is when you're in a really bad spot for mobile reception and it is raining hard, making reception even worse. With a decent setup as described here, you can make your call from inside the boat, in the dry, using WiFi calling on your phone, and if you have a laptop, you can plug it in to your Ethernet and instantly have a connection to the Internet.
Things to consider
You'll need a router, just as in a home, but it needs to be a cellular/mobile data router, not a broadband router. It will have antenna sockets and antennas, but you should connect it to an external antenna which will be mounted outside, ideally on the roof. It will need an activated SIM on an account suitable for the amount of data you are likely to use.
Routers need power, and the boat's batteries are the obvious power source. Low power consumption is desirable, somewhere less than 10W (more about this later). A mains-powered router isn't a good idea, as you would need your mains inverter on whenever you need to use the Internet. As most boaters know, inverters consume power even with no load, which is why we don't leave our inverter on when we're away from the boat, or at night when the solar panel produces nothing.
The router will provide WiFi inside the boat, and preferably have one or more Ethernet sockets so that you can connect a laptop directly. Locate the router near to the external antenna, otherwise you'll need long antenna cables which will weaken your signal. You may also want to run an Ethernet cable from the router to a socket close to where you'll use your laptop, for a really solid connection to the router.
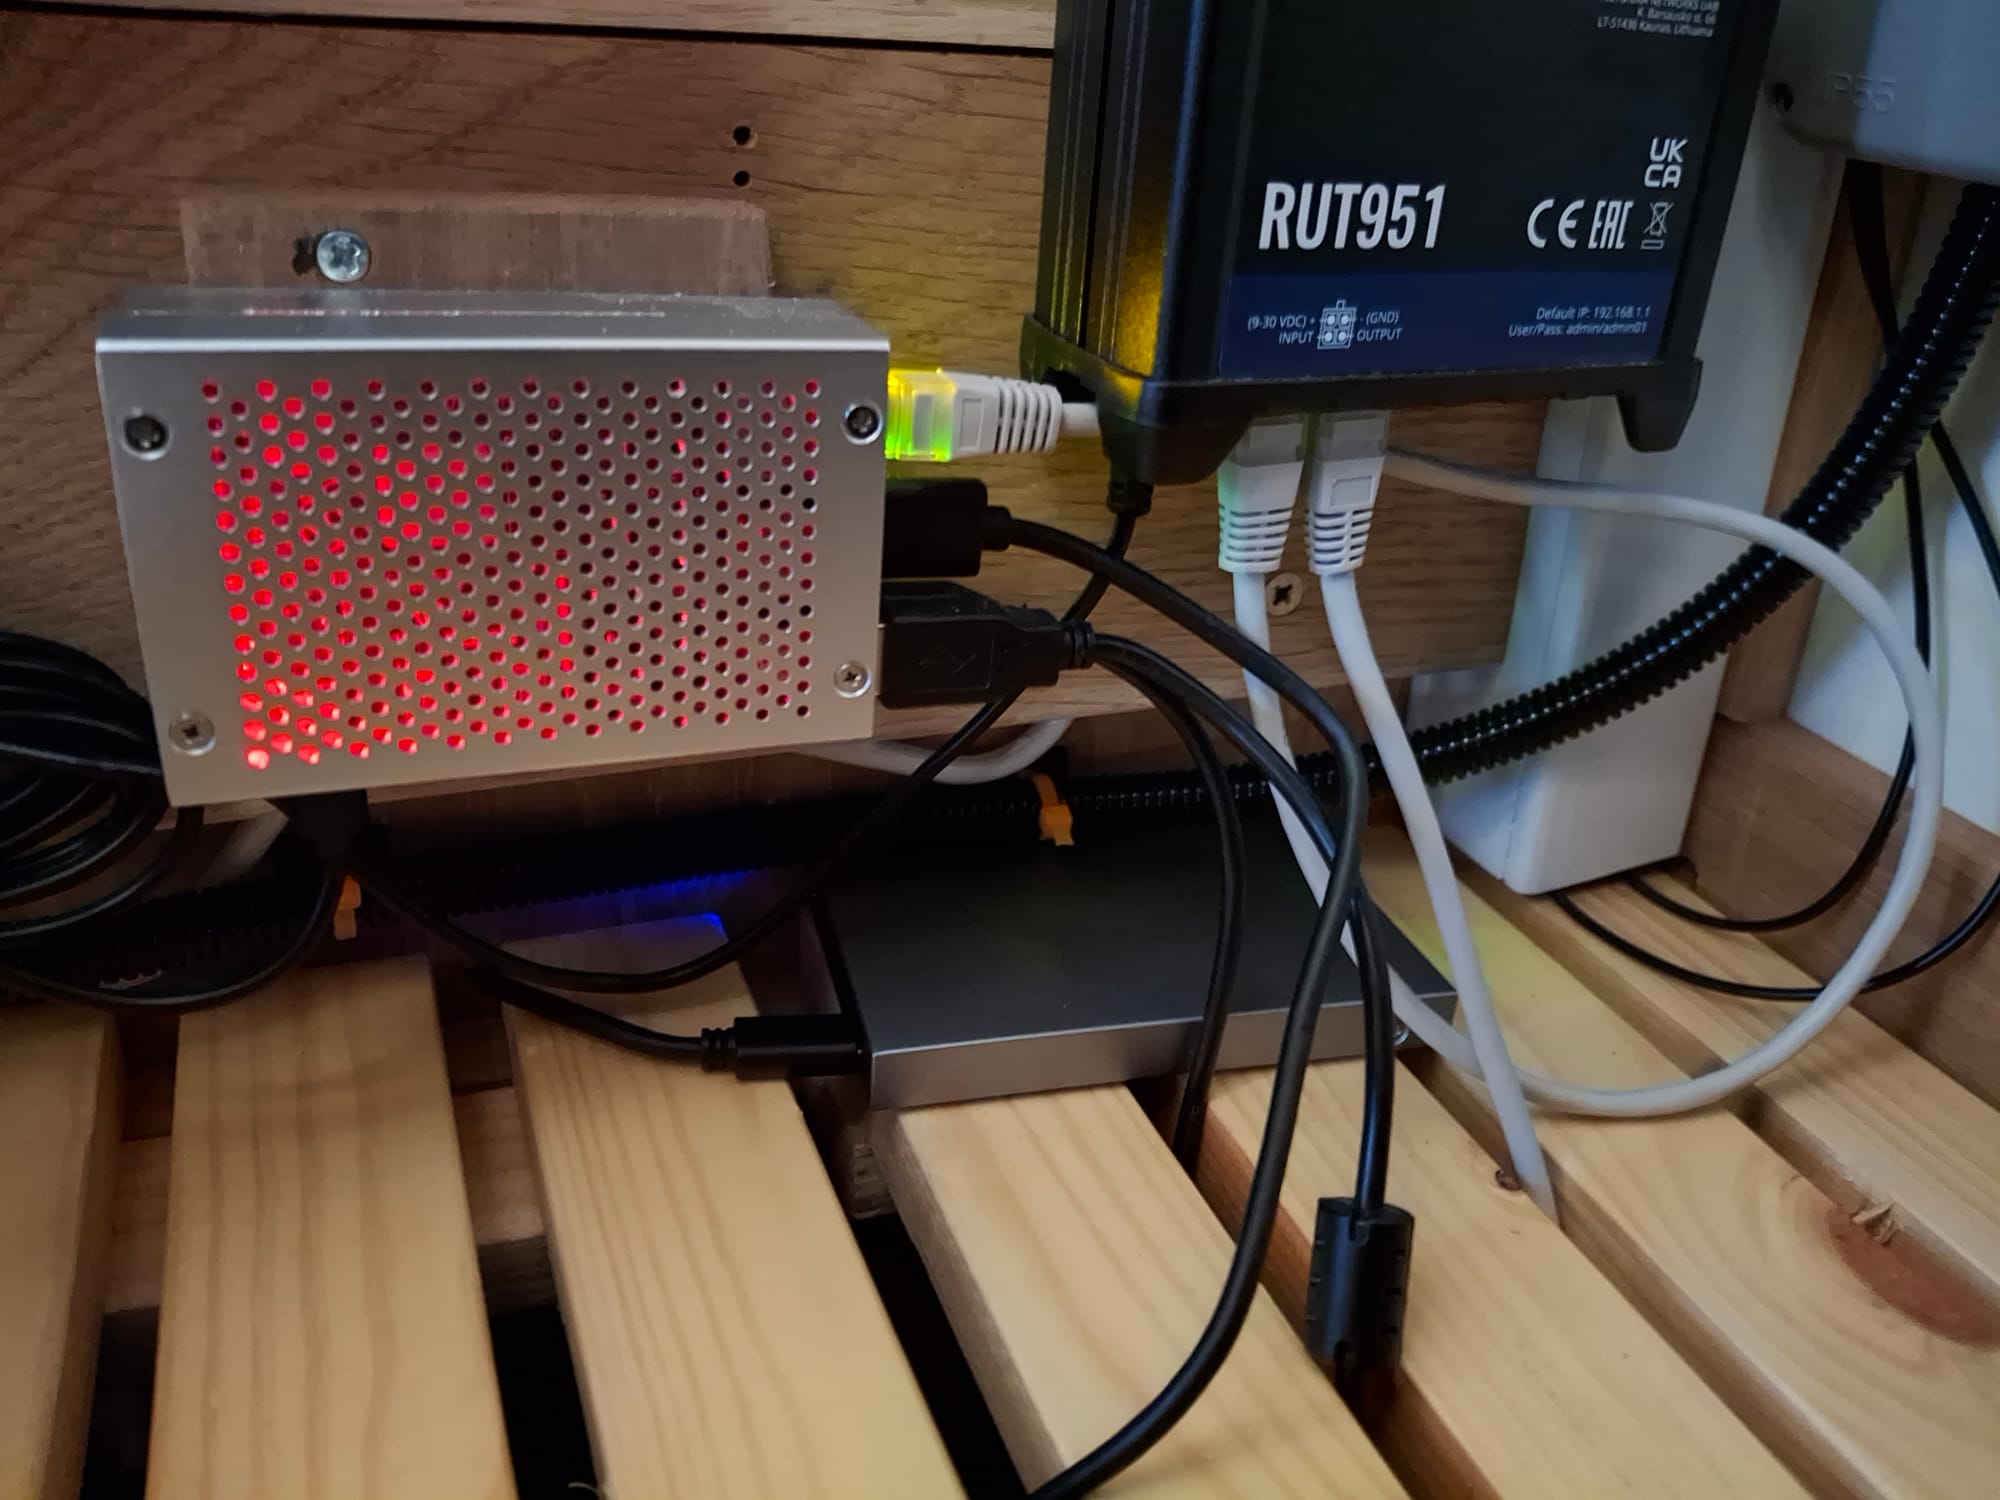
If, like me, you want to monitor your boat remotely via the Internet connection, you'll want a router that can be configured and remotely controlled. I have a Raspberry Pi computer connected to the router, running all sorts of monitoring and control, which I can access remotely. I'll write more about that in a later blog.
What did I choose and why?
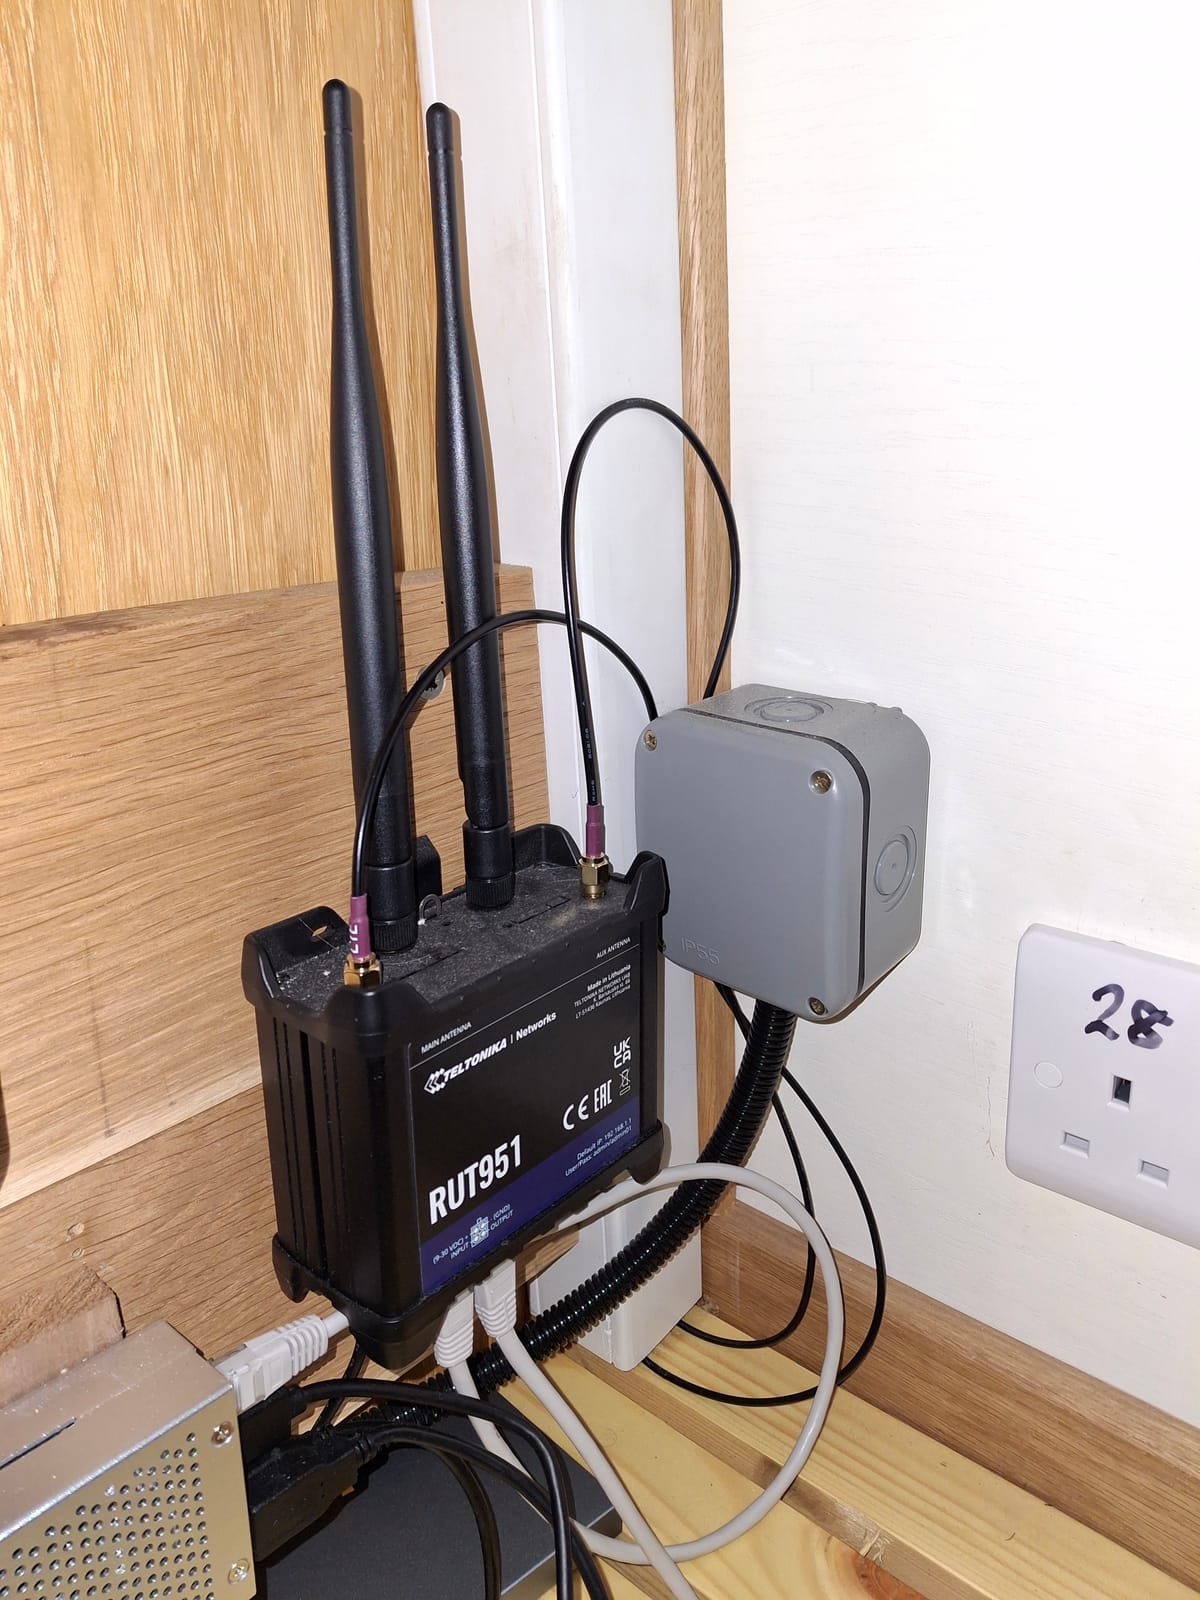
As you can see in the picture at the top of this blog, I chose a Teltonika 4G router. That was over two years ago. If I bought one today, I'd go for 5G. Mine has four Ethernet sockets, and supports a MIMO antenna. This has two antennas in a single housing, providing better reception and transmission than a single antenna. This is because the radio signal can be beamed in the direction of the cellular mast with the strongest signal. That's why there are two antenna cables leading from the router into the trunking up to the antenna.
The external antenna is a dome about 100mm in diameter mounted on the roof, sealed with marine mastic. The antenna requires a fairly large (typically 25 or 32mm) hole in the metal roof through which a hollow spigot protrudes, secured with a nut on the inside. The antenna cables pass through the spigot.
I've found mine to give good reception, except when moored in cuttings, which we generally avoid. I've seen people using antennas mounted on poles, which they have to rig after mooring and lower before moving off, and I'm very happy that I don't have to do this. We have Internet access even while on the move with our fixed antenna (except when the boat is in a tunnel).
The router can operate on any voltage from 9 to 30V, so it could work on any vehicle or boat with 12V or 24V electrics. It can be directly wired to a DC circuit on the boat (ideally to a dedicated circuit breaker). I have the router and Raspberry Pi computer running on the same circuit, but with a fuse for each in a junction box nearby. I found 12V Planet to be a handy source for wiring and cabling stuff. As I understand it, you don't need to put data cables or antenna cables inside ducting, but 12V wiring must be. You can see some small diameter flexible ducting in the pictures.
Teltonika routers can be controlled by sending SMS (text) messages to the router as if it were a phone. You can configure these messages using a web-based graphical user interface. For example, to turn the WiFi on or off, you just send wifion or wifioff to the router's SIM card phone number. The router can also send SMS messages, either in response to a received message, or because it has been configured to send messages under certain circumstances. This means in my case that the Raspberry Pi can also send SMS messages, by commanding the router over the Ethernet connection between the two (the router supports many communication protocols).
Power consumption
Low power consumption is important for a router on a boat. Mine takes no more than 7W which amounts to about 170Wh per day. The domestic batteries on the boat have a usable capacity of about 500Wh, and there is a solar panel which will keep the batteries topped up and power the router during daylight, so we don't need to leave the boat on a shoreline, even with the router running all the time. You don't need a big solar panel to supply 10W, even on a dull day.
SIM card
Searches on the Internet for UK SIM recommendations from motor-homers and boaters suggested SMARTY, and that's what I went with. For less than £10 a month it is possible to get 50GB of mobile data, which we've never exceeded (and if we did, you can buy data top-ups). We use a standard phone SIM (not a data-only SIM, as we need SMS messages). The router can't make phone calls, and it rejects incoming calls, if any.
Some routers (mine included) have dual SIM capability, which is something I don't need, but maybe it has its uses (you might find poor signal on one SIM, but a better signal if you used the other - obviously not if they both use the same main network - SMARTY uses the Three mobile network). Switching between SIMs is, of course, possible with a text message, or from a computer connected to one of the Ethernet sockets. If you're a programmer, you could even automate this to try both SIMs in turn and settle on the one with the best signal.
Security
Don't leave the router password at its default setting - change it to a secure password before you install the router on your boat. Secondly, use a secure password for your WiFi - anyone who has this password can connect to your router, and they don't need to be inside your boat.
These days you can create a QR code from a WiFi password using your phone, and you can print out the QR code and stick it inside a cupboard door, so that guests can easily connect their phones to your WiFi. There is no need to make the password easy to type in or guess.
Professional grade routers have all sorts of remote access options including remote login and remote access to the graphical user interface. Make sure that everything you are not using is disabled.
Conclusion
Decent Internet on a narrowboat is a great convenience. I've been able to do Zoom calls from the boat (I did choose a mooring with a good signal), make phone calls using WiFi calling while sitting at the dinette inside, and monitor the boat remotely over the Internet connection (a topic for a future blog).